


You have a well-crafted article you’re eager to publish. But you know a beautiful picture (or diagram) will help get the attention your content deserves. So, how do you place your images into the article where you want them? WordPress gives you the ability to insert pictures into text, with appropriate size, margins, and alignment, all without needing to code those instructions yourself.
WordPress, out of the box, provides several other critical image editing features we will detail in this article. Gallery display, along with convenient image optimization tools available with WP plugins, is also covered here. Correctly displaying pictures and accompanying information in your posts and pages is essential both for aesthetic and technical reasons.
The Media Library
First, let’s look at the Media Library. The Media library allows convenient uploading and accessing of image files and other content for your blog.
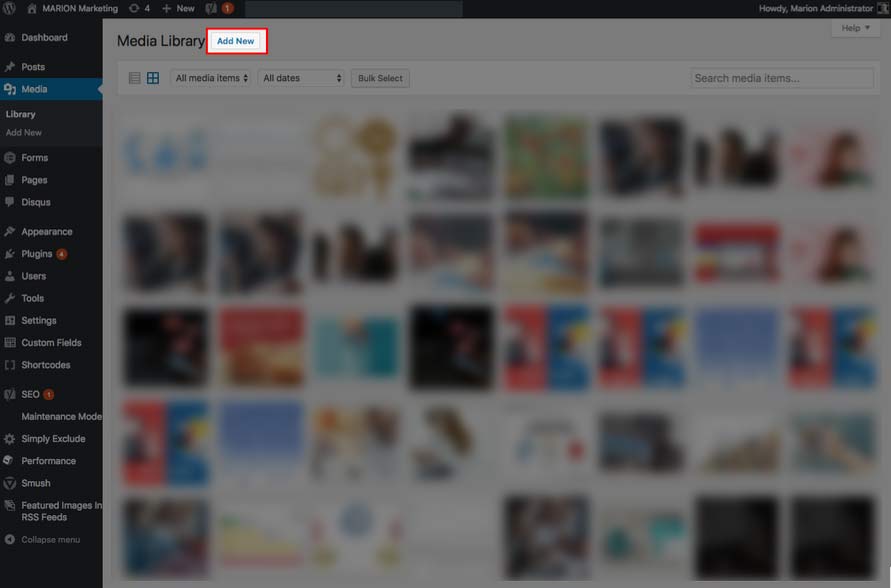
Images can be added directly to the Media Library (Add New) for use later or added from the Add Media buttons on any page or post editor. Most of the time you will upload .jpg, .gif, or .png image formats for use in posts and pages, but several other image types are uploadable to the Media Library.

File Size!
Before you upload a picture to your website, it’s important to consider its file size, measured in bytes of data it contains. Photos you take with your phone or other cameras are usually much bigger than required for screen display. They should be optimized (compressed to the minimum size required) for screen use, or else they may load slowly, especially on mobile devices. Page-load time is a factor in computing page rank for search engines.
However, image compression is a burden on content creators who may not have, or know how to use, optimization software such as Photoshop. There are also different best practices for image optimization with SEO vs. social media marketing.
WordPress does not optimize images automatically, but there are plugin solutions that, among other things, compress files in the background during upload. Some of these plugins can also limit picture dimensions to a preset pixel width and height. Read the linked article to understand possible options and view a comparison of the compression results available from five popular image compression plugins.
An image used as a full-screen display image, as a rule, should not be over 100 kilobytes. Keeping the file sizes of your images may even be included in your marketing performance tracking process as they can influence page load times. Pictures used in blog posts or other articles are usually 20 to 30 kb.
Image dimension is another consideration for screen use. There is no point in using images on your website that are taller or wider than necessary. The images will scale down to fill the available space. Nonetheless, the entire file must download anyway, a waste of time and bandwidth. A good rule of thumb is to limit the largest side of your image to 1280 pixels. That will accommodate over 90 percent of your website visitors. If you need to target the widest monitors, pictures should be 1920 pixels up to 2560 pixels.
Adding Images to Pages and Posts
First, be sure you have permission to use the image. That’s extremely important. Using an image without authorization could expose you to serious liability. So, if you did not create the photo yourself or have express permission to use it, either purchase the rights from a stock photography website or locate pictures from free image sources. Follow the link to find out more about picture libraries using Public Domain or Creative Commons licenses.
Naming
Once you’ve chosen your image, be sure to save it with a meaningful name. The file name should describe the picture and support the content of the article. People may be searching for your content online. The text contained in your file names will help them find it. Image naming can be a critical part of new website SEO and ongoing optimization.
Scenario 1: Right Align an Image Within a Paragraph.
- Place your cursor in the space above the paragraph you’d like to wrap around the left side of an image.
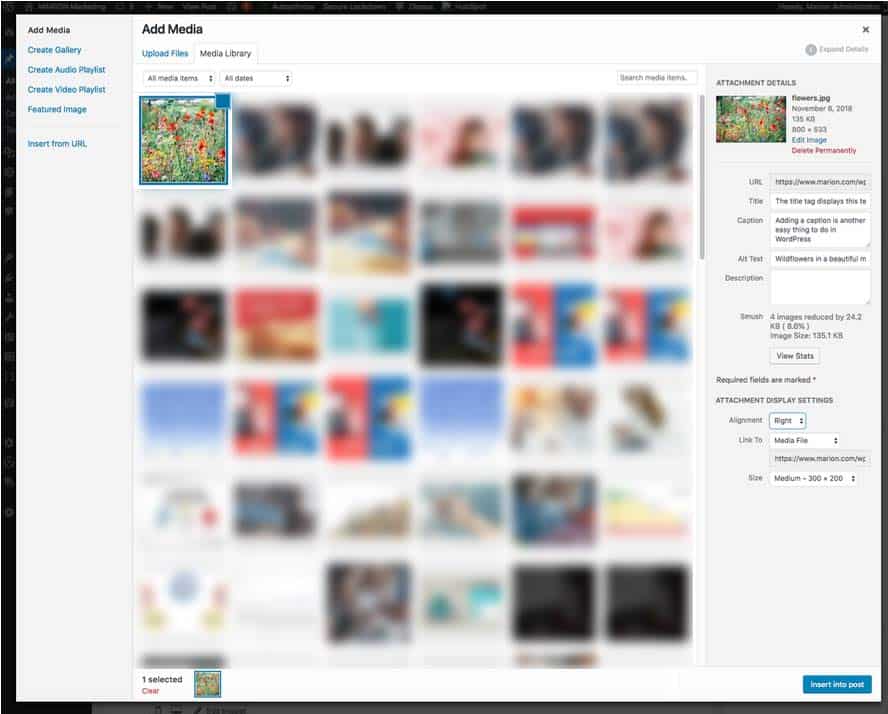
- Upload the image to the Media Library with the Media button.

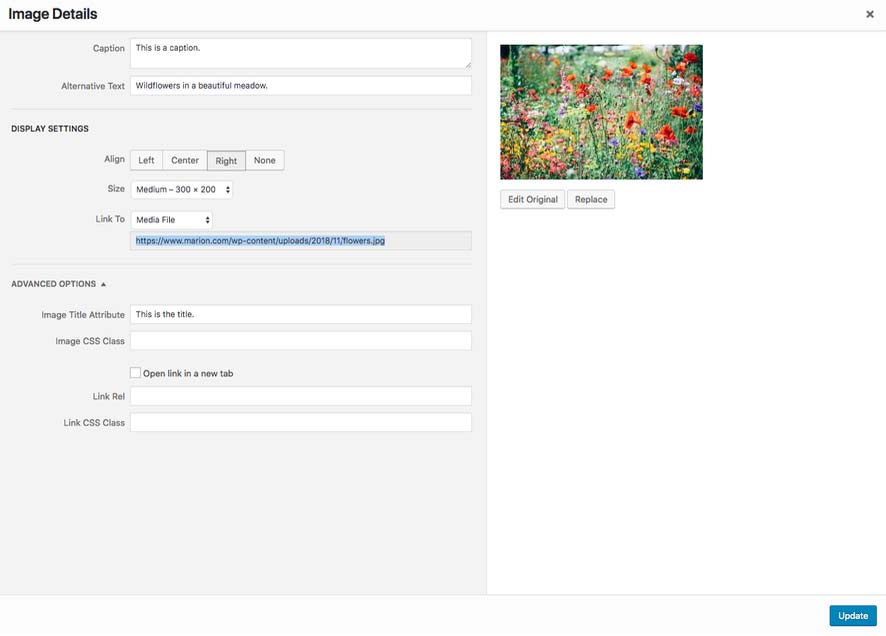
- Once the image has finished uploading, the media library will open. On the right are the options you need to display your image.

- Always fill in the Alt Text box, because that displays text in case the image can’t be rendered and allows search engines to identify your pictures for searching and other reasons. The alt text also enables screen readers to help people with vision impairment. The Title tag text appears when mousing over an image. (You can disregard the description box for purposes of this article.) Learn more about these essential image attributes.
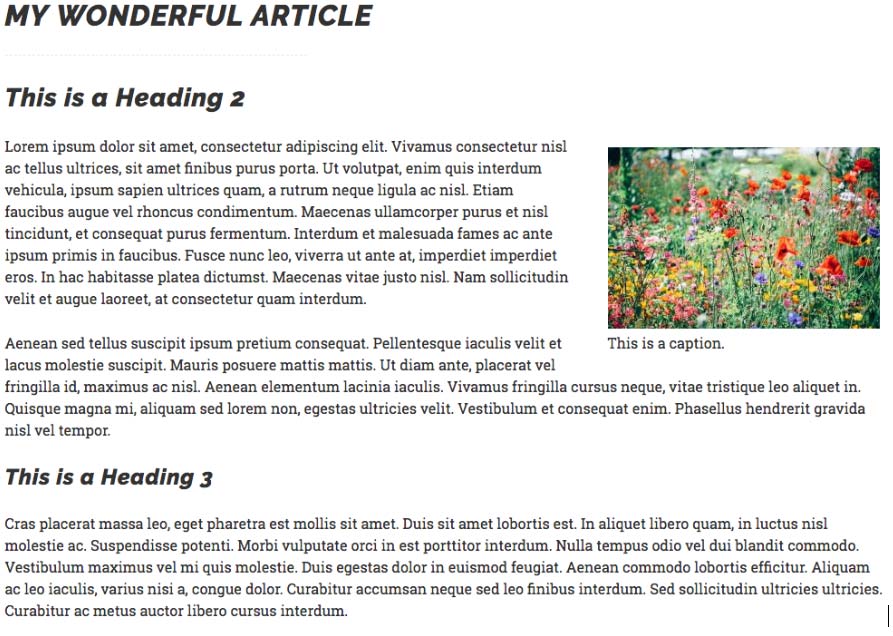
- Caption: If you would like to caption the image, WordPress will display the caption text according to caption display styles from your WordPress theme.
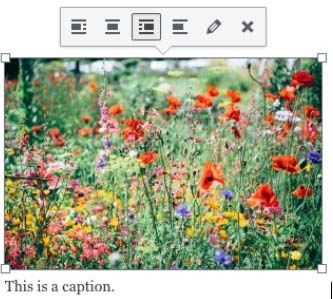
- Select the image alignment you want, in this case, Right Align.
- Choose the appropriate dimension. When you upload, WordPress automatically creates a group of images in descending widths and heights from full size to thumbnail. Therefore, you may not need to upload the exact image dimensions you want to see in your article, freeing you from having to do that with software before publishing. This image group is also used by WordPress to display images responsively, i.e., scaled for the screen width of your reader.
- Linking: By default, WordPress will link to the full-size version of your image. You can change that to any other link destination or have no link at all.
- Preview the result. Your result may show different margin and caption styles, as defined in the style sheet for your WordPress theme. But, in general, your image should appear on the right side of your article column with text flowing around it:

- Save Draft or Publish
Editing
- Return to the Visual Editor
- Click on the image to reveal the image editing menu. There are four alignment icons: left, center, right and none. (If you choose none, images will align left by default unless otherwise instructed by style sheet rules governing their behavior). Use the x icon to delete the image or click the pencil to edit attributes or even replace it.

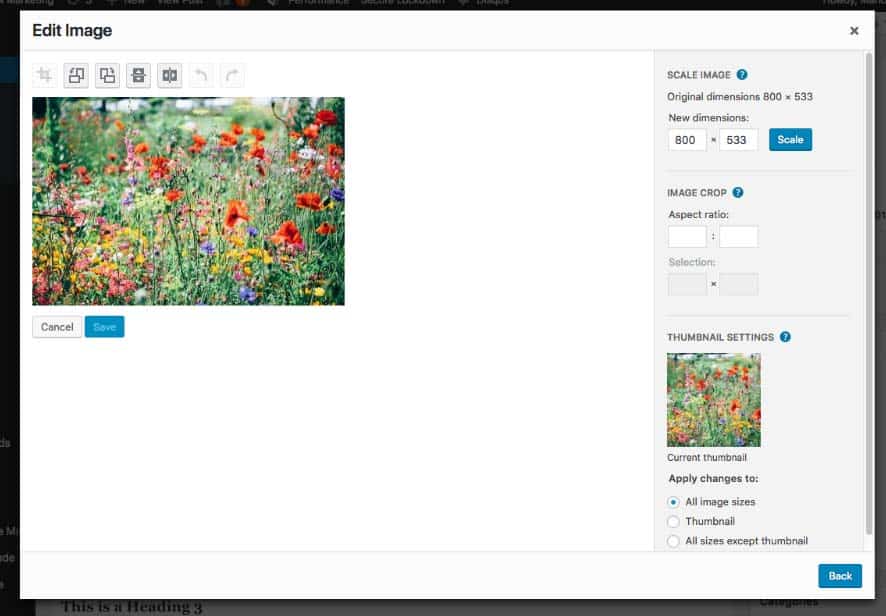
- After clicking the pencil icon, a large image editing window appears. Here you may change any attributes, or apply an advanced option such as adding style classes.

- Click “Edit Original” on the right to view more image editing features. On the left are icons for image rotation and flipping, and grayed-out cropping and undo/redo icons.

- Scaling and cropping: Click the question mark symbols to reveal more information. Images can always be scaled down, however, avoid enlarging images because that reduces image quality.
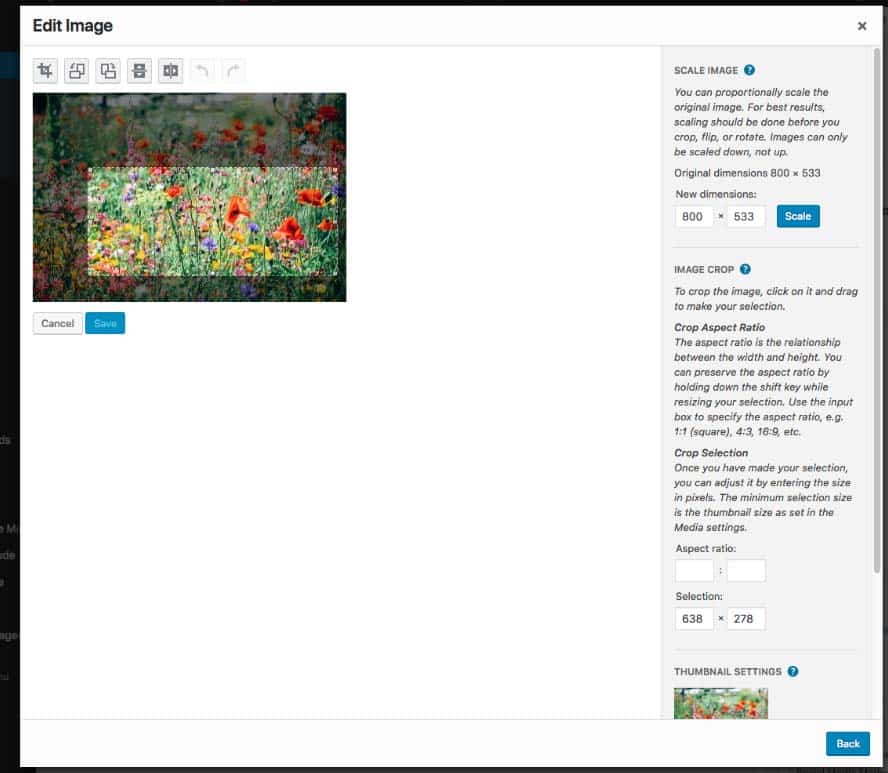
- To crop an image, click the picture with the mouse and drag across it. A highlighted rectangle will appear showing you the area of the image to be kept after cropping. You can also indicate a specific aspect ratio in the box on the right. Play with these controls to see what happens. When satisfied with your cropped area, click the crop icon above the image and save it. (You will not destroy your original image. Once you apply changes to scaling or cropping in this window, a Restore Image button will appear allowing you to return to the original upload at any time. However, be sure to keep the original file on your computer in case something goes wrong.)

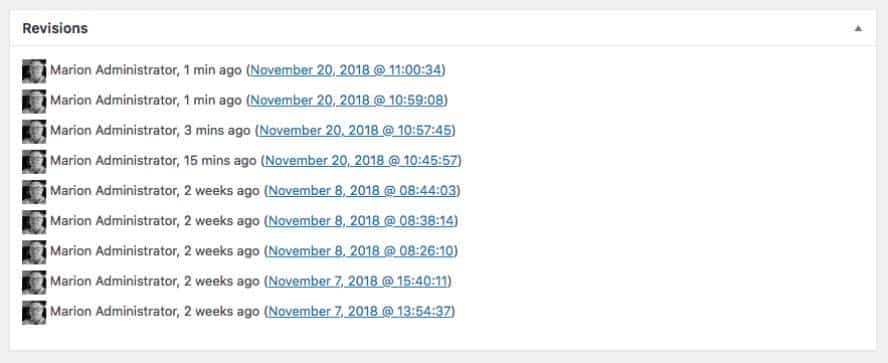
Revisions
Sometimes things don’t go as planned or you change your mind and decide you want to go back. WordPress makes that very easy, by using the Revisions panel in the editor screens.
- Scroll down toward the bottom of the post editor. You should see something like this:

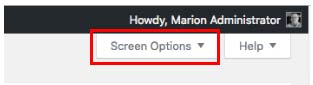
- If you don’t, then you need to enable it by accessing the Screen Options tab in the upper right corner of the WP desktop. Click Screen Options. To make the Revisions panel visible, check the box.

- Select the revision you need and follow the instructions on the screen.
Galleries
WordPress ships with a thumbnail gallery option. First, we’ll cover how to add a gallery without adding a gallery plugin:
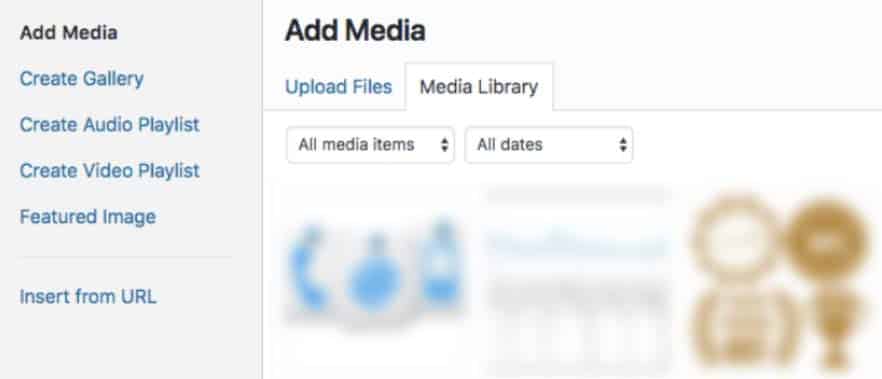
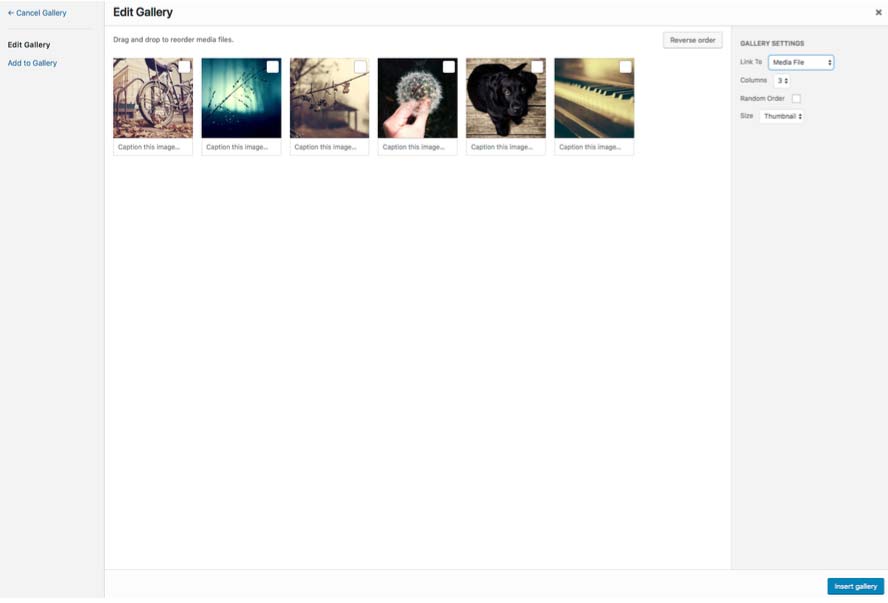
- Place your cursor in the post editor where you’d like to show a gallery of images and press the Add Media button. Notice the options listed on the left. At the top is Create Gallery.

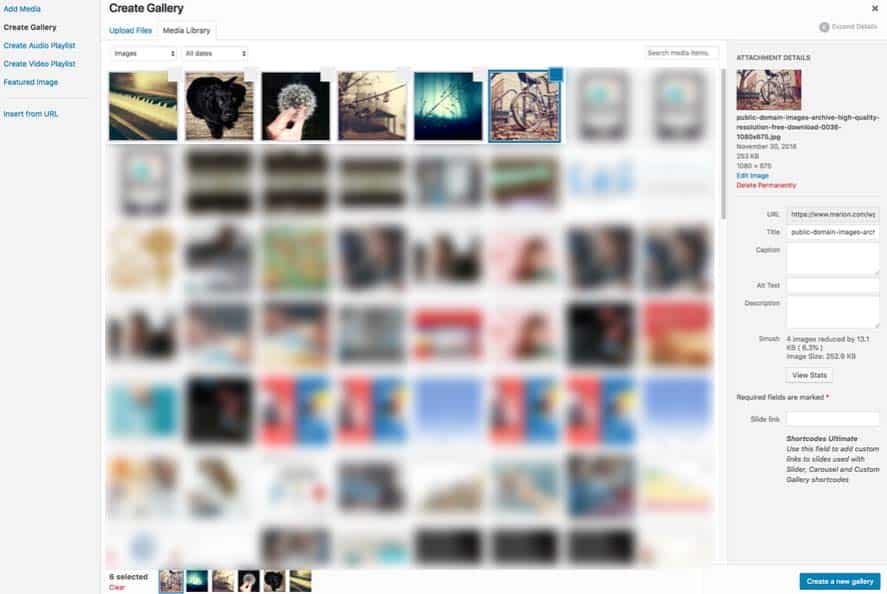
- Click Create Gallery and the Media Library re-displays, but now you can select several items at a time or upload new things.
- Upload your group of images or select several from the library. Then press Create New Gallery

- The screen will change to allow you to select options for the gallery including the number of columns and image size and linking. Most of the time you will link to the media file.

- Click Insert Gallery, and it will appear in the editor.
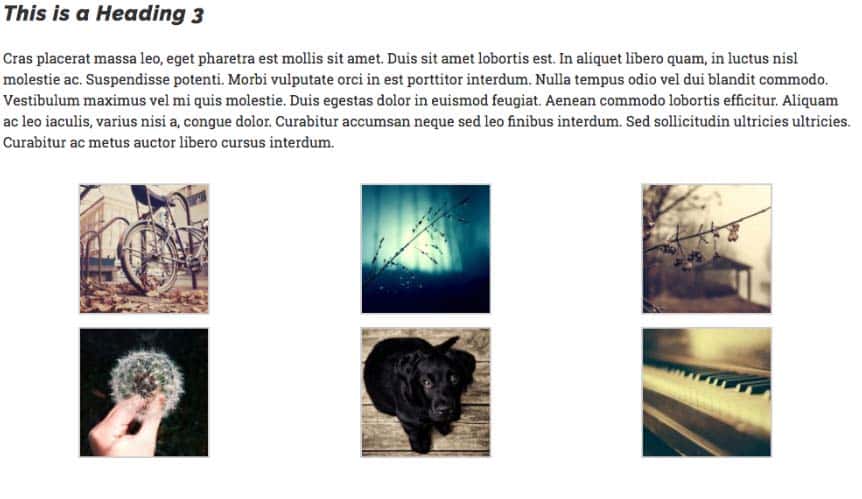
- Preview or save your edits. Here’s how the thumbnail gallery looks in the published article after choosing three columns of thumbnail-sized images.

Editing Galleries
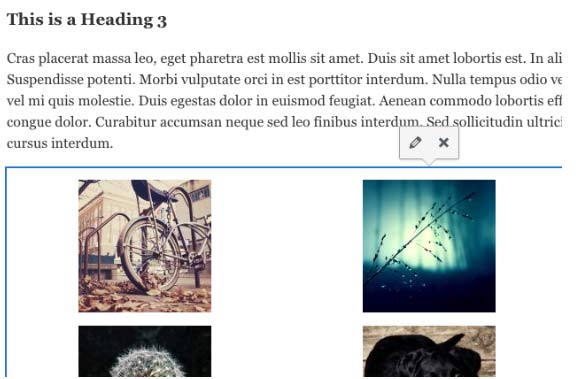
- In the post editor, click anywhere on the gallery showing in your article. An editing tab will appear, so click on the pencil icon.

- Here you can add or remove images, re-order them, edit captions and so forth.
Creating more advanced Galleries
WordPress does an excellent job of displaying a grid of thumbnails with borders, flexible margins, and captions. But it does not have advanced gallery features such as slideshow, or alternate layouts. The thumbnail gallery is not fully responsive, and you can’t navigate between images without returning to the article and clicking on another picture.
Creating Galleries with a Plugin
Fortunately, it’s easy to obtain advanced gallery features for your blog by installing gallery plugins. We’ll show you how to use one of the most popular examples by Envira.
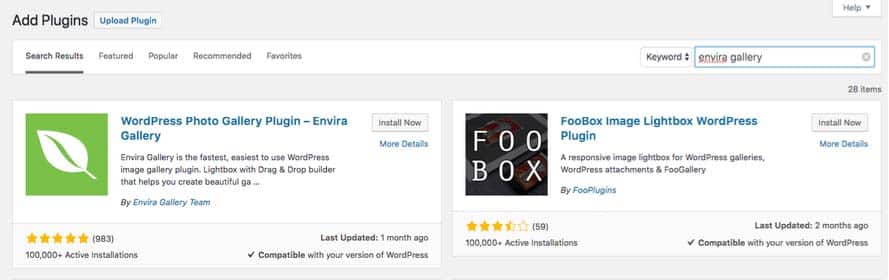
- Go to Plugins, Add New and type Envira Gallery in the search box.

- Click Install Now, then Activate the plugin.
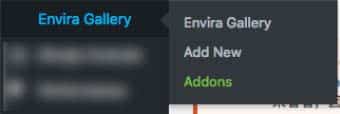
- Then, mouse over Envira from the menu on the left and select Add New

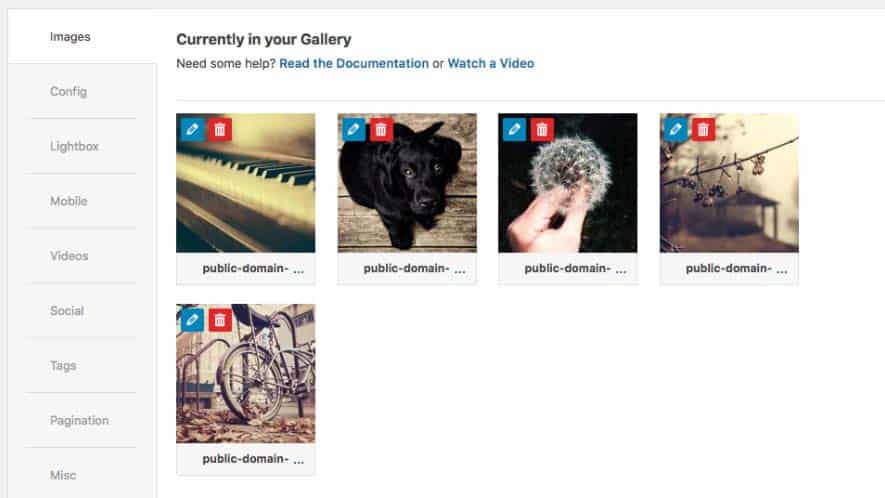
- From the screen that opens, you can upload new images or Select From Other Sources (which will open the Media Library). Here we have selected some photos we’ve already uploaded:

- The pencil icon on each image allows you to set links, alt text, etc. By default, each image will caption itself with the image name, but you can delete that information in the image editing windows.
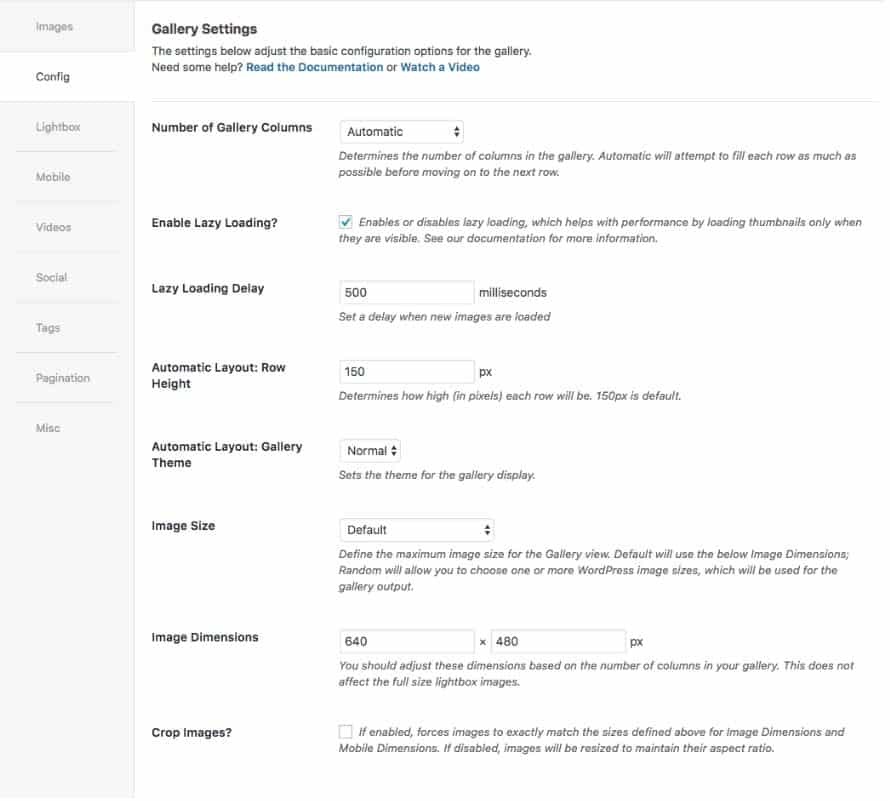
- The Config tab is where you define the number of columns and several other display features. You can accept the defaults for this exercise.

- Give the Gallery a name and Publish it, then return to your post.
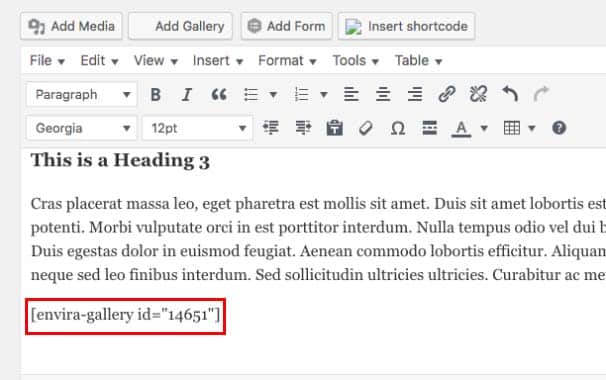
- You’ll see that an Add Gallery button is now available on the post editor screen. Place your cursor where you want the gallery to appear and click the Add Gallery button. The published galleries will appear on a new screen. The plugin will automatically add a “shortcode” to your post that WordPress will interpret to display the gallery when you view the published post.

- Save draft or publish and preview the new gallery. You’ll see your images displaying in an attractive mosaic layout, and each will open in a convenient lightbox.
- Experiment with the various settings and features and add many more features by upgrading to a premium version.
Patience!
It takes a little practice to overcome unfamiliarity with the interface. Always give yourself plenty of time to do image editing. Take breaks. Pause to read the screen between each step. The only way to learn how to do this is to do it! Very soon these tasks become second nature.
If you need help with the execution of your digital strategy, our Houston marketing agency can help! MARION has been around for over 30 years, and has experienced the evolution of digital marketing and custom website development and design firsthand.
Contact us today to schedule a consultation, and together we’ll discover how to improve your business’s bottom line!